
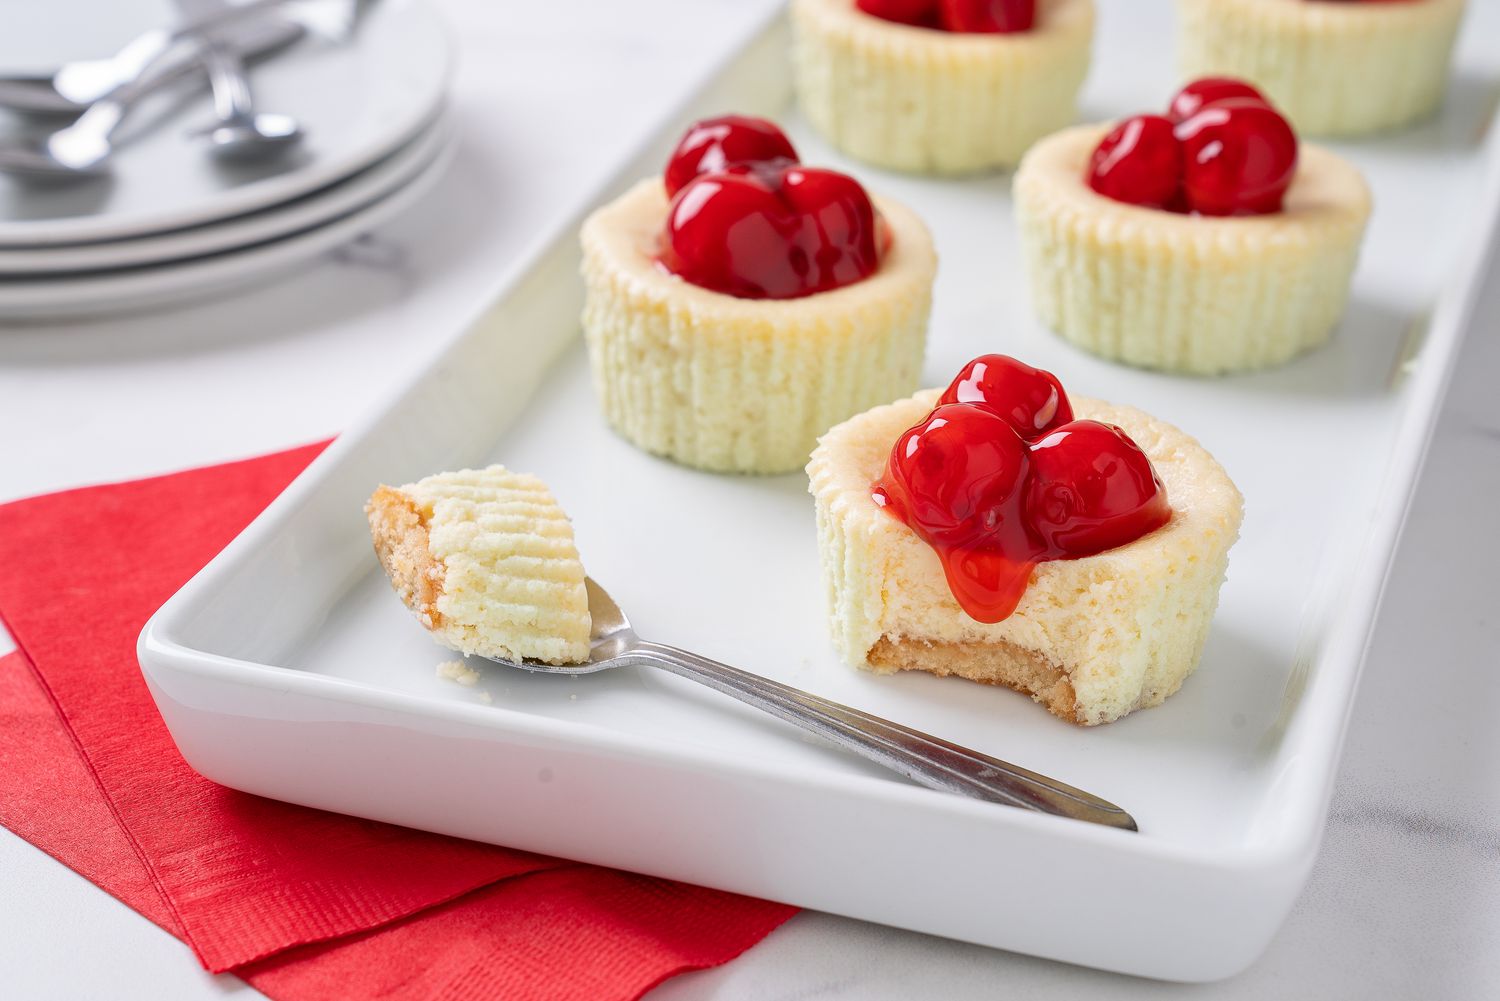
These mini cheesecakes with vanilla wafers are a delightful treat that combines the creamy richness of cheesecake with the sweet crunch of vanilla wafers. Perfect for parties or a simple dessert, these bite-sized delights are easy to make and sure to impress.
If you don't usually have cream cheese or vanilla wafers in your pantry, you'll need to pick them up at the supermarket. Cream cheese is typically found in the dairy section, while vanilla wafers are usually located in the cookie aisle. Make sure to get large eggs from the dairy section as well.
Ingredients for Mini Cheesecakes with Vanilla Wafers
Vanilla wafers: These cookies form the base of each mini cheesecake, adding a sweet and crunchy texture.
Cream cheese: Provides the rich and creamy foundation for the cheesecake filling.
Sugar: Sweetens the cheesecake mixture to balance the tanginess of the cream cheese.
Vanilla extract: Adds a warm, aromatic flavor to the cheesecake filling.
Large eggs: Help to bind the ingredients together and give the cheesecake its structure.
Technique Tip for Making Mini Cheesecakes
To achieve a perfectly smooth and creamy texture for your cheesecake filling, ensure that your cream cheese is fully softened before you begin mixing. This will help prevent lumps and make it easier to incorporate the sugar and vanilla extract. Additionally, when adding the eggs, do so one at a time and beat well after each addition to create a uniform mixture. This method ensures a consistent and velvety batter that will bake evenly.
Suggested Side Dishes
Alternative Ingredients
vanilla wafers - Substitute with graham cracker crumbs: Graham cracker crumbs provide a similar texture and slightly sweet flavor that complements the cheesecake.
vanilla wafers - Substitute with digestive biscuits: Digestive biscuits offer a slightly different but still complementary flavor and a similar crumbly texture.
softened cream cheese - Substitute with mascarpone cheese: Mascarpone cheese has a rich, creamy texture and mild flavor that works well in cheesecakes.
softened cream cheese - Substitute with Greek yogurt: Greek yogurt can provide a tangy flavor and creamy texture, though it may be slightly less rich.
sugar - Substitute with honey: Honey adds a natural sweetness and a slight floral note to the cheesecake.
sugar - Substitute with maple syrup: Maple syrup offers a unique, rich sweetness that pairs well with the creamy filling.
vanilla extract - Substitute with almond extract: Almond extract provides a different but pleasant nutty flavor that can enhance the cheesecake.
vanilla extract - Substitute with lemon zest: Lemon zest adds a fresh, citrusy note that brightens the flavor of the cheesecake.
large eggs - Substitute with flax eggs: Flax eggs (ground flaxseed mixed with water) can be used as a vegan alternative to bind the ingredients together.
large eggs - Substitute with silken tofu: Silken tofu can provide a similar texture and act as a binding agent in the cheesecake filling.
Alternative Recipes Similar to Mini Cheesecakes
How to Store or Freeze Your Mini Cheesecakes
Once your mini cheesecakes have cooled completely, transfer them to an airtight container. This helps maintain their creamy texture and prevents them from absorbing any unwanted odors from the fridge.
If you plan to enjoy them within a few days, store the container in the refrigerator. These delightful desserts can stay fresh for up to 5 days when properly refrigerated.
For longer storage, consider freezing. Place the mini cheesecakes on a baking sheet and freeze them until they are solid. This step ensures they maintain their shape and don't stick together.
Once frozen, individually wrap each cheesecake in plastic wrap or aluminum foil. This extra layer of protection helps prevent freezer burn and keeps them tasting fresh.
Place the wrapped cheesecakes in a freezer-safe bag or container. Label the container with the date to keep track of their freshness. These mini delights can be frozen for up to 2 months.
When you're ready to enjoy a frozen mini cheesecake, simply transfer it to the refrigerator to thaw overnight. For a quicker option, let it sit at room temperature for about 30 minutes.
To serve, you can add your favorite toppings like fresh fruits, whipped cream, or a drizzle of chocolate sauce. This adds an extra layer of flavor and makes them even more irresistible.
How to Reheat Leftovers
Preheat your oven to 275°F (135°C). Place the mini cheesecakes on a baking sheet and cover them loosely with aluminum foil to prevent them from drying out. Heat for about 10-15 minutes or until they are warmed through.
Use a microwave for a quicker option. Place a mini cheesecake on a microwave-safe plate. Heat on medium power for 20-30 seconds. Check the temperature and continue heating in 10-second intervals if needed. Be cautious not to overheat, as this can cause the cheesecake to become rubbery.
For a more delicate approach, use a double boiler. Place the mini cheesecakes in a heatproof dish and set it over a pot of simmering water. Cover the dish with a lid or foil and steam for about 5-7 minutes, or until warmed through. This method helps maintain the creamy texture.
If you prefer a cold treat, simply remove the mini cheesecakes from the refrigerator and let them sit at room temperature for about 15-20 minutes before serving. This allows them to soften slightly without losing their structure.
Essential Tools for Making Mini Cheesecakes
Oven: Used to bake the mini cheesecakes at the specified temperature of 350°F (175°C).
Muffin tin: Holds the paper liners and provides structure for the mini cheesecakes.
Paper liners: Placed in the muffin tin to hold each individual cheesecake and make removal easier.
Mixing bowl: Used to combine and mix the cream cheese, sugar, vanilla extract, and eggs.
Electric mixer: Helps to beat the cream cheese until smooth and to mix in the other ingredients thoroughly.
Measuring cups: Used to measure out the sugar and other ingredients accurately.
Measuring spoons: Used to measure out the vanilla extract and other small quantities of ingredients.
Spoon: Used to spoon the cream cheese mixture over the vanilla wafers in the muffin tin.
Cooling rack: Allows the mini cheesecakes to cool completely after baking.
Time-Saving Tips for Making Mini Cheesecakes
Soften cream cheese quickly: Cut the cream cheese into smaller pieces and microwave for 15-20 seconds to soften it faster.
Use a food processor: Blend the cream cheese, sugar, and vanilla extract in a food processor for a smoother mixture in less time.
Room temperature eggs: Place eggs in a bowl of warm water for a few minutes to bring them to room temperature quickly, ensuring they mix better.
Pre-measure ingredients: Measure out all your ingredients before starting to streamline the process.
Use a piping bag: Fill a piping bag with the cream cheese mixture for quick and mess-free filling of the muffin cups.
Mini Cheesecakes with Vanilla Wafers
Ingredients
Main Ingredients
- 12 pieces Vanilla wafers
- 16 oz Cream cheese softened
- 0.75 cup Sugar
- 1 teaspoon Vanilla extract
- 2 large Eggs
Instructions
- Preheat your oven to 350°F (175°C). Line a muffin tin with paper liners.
- Place a vanilla wafer at the bottom of each liner.
- In a mixing bowl, beat the cream cheese until smooth. Add the sugar and vanilla extract, and mix well.
- Add the eggs one at a time, beating well after each addition.
- Spoon the cream cheese mixture over the wafers, filling each cup about ¾ full.
- Bake for 15 minutes or until the centers are set. Allow to cool completely before serving.
Nutritional Value
Keywords
Suggested Appetizers and Main Courses
Check out these recipes too!
- Baja Sauce Recipe for Fish or Shrimp Tacos10 Minutes
- Garlic Naan Recipe30 Minutes
- Swedish Hard Tack Recipe45 Minutes
- Dutch Crunch Rolls Recipe45 Minutes
- Strawberry Glazed Pie Recipe50 Minutes
- Spanakopita Greek Spinach Pie Recipe1 Hours 15 Minutes
- Breakfast Rice Recipe30 Minutes
- Italian Rice Pie Recipe1 Hours 20 Minutes
- Cottage Cheese Bread Recipe1 Hours
- Savory Parmesan French Toast Recipe25 Minutes
- Applesauce Bread Recipe1 Hours
- Vegan Pumpkin Pie Smoothie Recipe10 Minutes
Leave a Reply